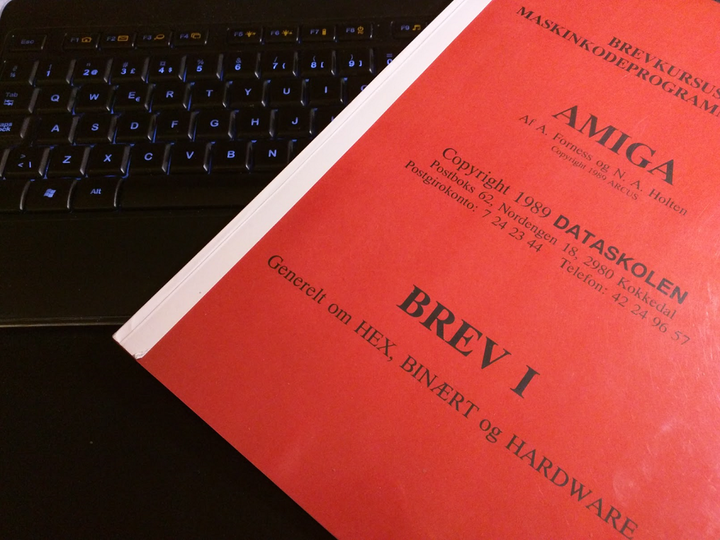
Amiga Machine Code Letter I
 Amiga machine code - letter 1
In this post we will take a look at the first letter of the Amiga machine code course. The letter is freely available here:
http://palbo.dk/dataskolen/maskinsprog/
The letter starts with an introduction of the binary and hex number systems. We are told that it’s very important to learn these number systems and that they will be of great use later.
I was a bit lazy as a kid (who wasn’t?), so I knew the concepts, but I never really got to the point where I used binary and hex for anything useful. Also, I had no way to check if what I was doing was correct. I just had to wait a month, until the next letter arived, with the solutions to the assignments in the previous letter.
In letter one, the assignments consists of conversion between number systems. Conversion between decimal, hex, and binary is a tedious job, and the author suggests that you buy a calculator to do the job. I find that a little puzzling, since the Seka assembler has such functionality baked in!
By using the questionmark operator “?” followed by a number, in the Seka command area or code editor, it’s possible to swiftly let Seka do the conversion. No need for a dedicated calculator. Note that “$” and “%” in front of the number denotes hex and binary numbers.

The author points out that converting between hex and binary is very easy. A little algorithm is presented, that will let you do the conversion in your head, far faster than any calculator.
At the end of the letter, we are given an explaination of chip memory and fast memory. To explain the difference, we have to look a bit on the hardware of the Amiga. The Amiga consists of a CPU, a Motorola 68000, and three auxillary chips called Paula, Agnus, and Denise.
The chip memory is accessible by all four chips, which makes it slow. On the other hand, no chip but the CPU, can access the fast memory. Because only one chip has access, the memory becomes fast.
There’s a good illustration of the memory on Fabien Sangalard’s site. Be sure to check out his books while you are there 😃.
Now to the fun part. Writting some actual code. Before we start, we will make a save disk for the code. Start WinUAE and go the floppy drive settings and make a save disk. Then put that save disk into DF1: so that we later can access it from Seka.

The first code example is called MC0101 and I have only a little clue of what it does.
; file mc0101.S
move.w    #$4000, $DFF09A
move.w    #$03A0, $DFF096
loop:
move.w    $DFF006, $DFF180
btst      #6, $BFE001
bne.s     loop
move.w    #$83A0, $DFF096
move.w    #$C000, $DFF09A
rts
It turns out that the program will run until the left mouse button is pressed. Then it will proceed to rts (return from subroutine) that will let the 68k continue reading at the return address.
Before we dive into the program, we need to save it to disk. This is done by entering “w” on the seka command line.
SEKA>W
FILENAME>df1:mc0101
To read the program, enter “r”
SEKA>r
FILENAME>df1:mc0101
To see whats on the save disk, enter “v” followed by the drive name.
SEKA>vdf1:
Now that we know how to save and load programs, we can take a look at what the assembler does.
The job of the assembler is to translate the machine code to it’s numerical represention in memory. Such representation is called object code.
To run the program, go into the Seka command line
SEKA>a
OPTIONS>
No Errors
SEKA>j

The screen shows some psycedelic colors and the Amiga freezes. To return from the program, press left mouse button.
Missing from the Seka documentation is the command that saves the object code to disk.
SEKA>wo
MODE>f
FILENAME>mc0101
This will save the object code to disk as mc0101. It will not overwrite the source code, since it’s saved with an appended “S” as in mc0101.S.
We can actually run this code in the Amiga Workbench!

And that’s it. In the next post we will take a deeper diver into the program.
Previous post: Amiga Machine Code Setup
Next post: Amiga Machine Code Letter I - Deep Dive.